Language Warning!
WTF is Going On in Tape? Animated!
Anyone who works in TV has already heard this famous audio recording from the early 90’s. A San Diego director flips out at his replay operator during a baseball game, and hilarity ensues.
I had challenged myself to create an animated character in After Effects that would be comparable to something made in Flash or ToonBoom. This voice recording was the perfect starting point.
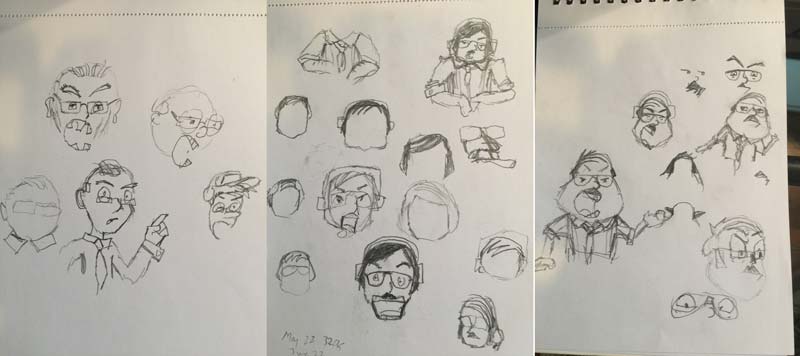
In researching for this project, I was able to draw on real rigging workflows from shows like Archer and Angry Birds Toons, both of which are animated in After Effects.
I also researched shows that are animated in Flash, to try and carry over some of their techniques. I found that Flash tutorials tend to focus more on the animation principals and theory, rather than the software. This was incredibly valuable, as it kept me mindful of exactly how the character should move to really bring him to life.
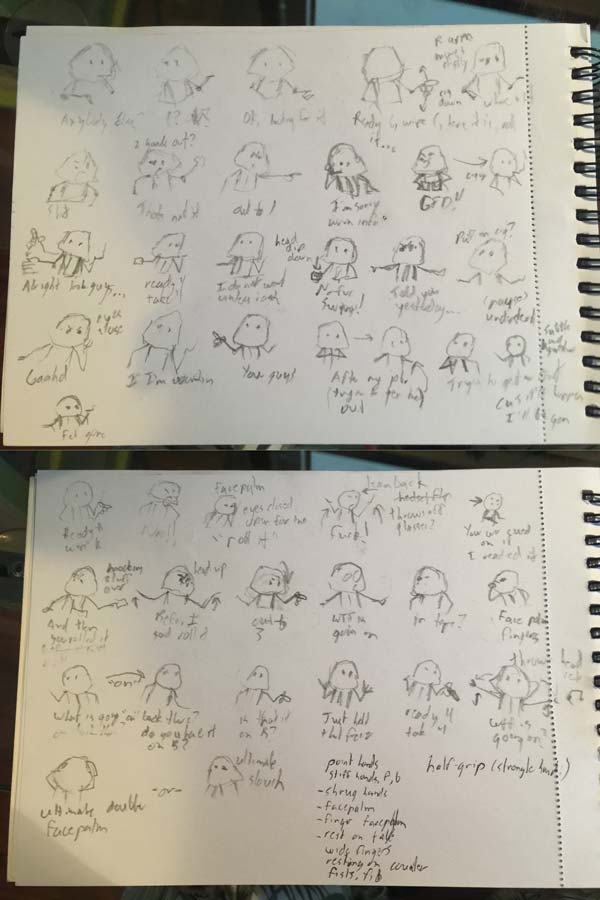
I decided to go with the pose-to-pose animation style that we see in so many Saturday Morning Cartoons. In the days of hand-drawn animation, pose-to-pose style was done simply for budgetary reasons. The character simply had to strike a pose, and then freeze until it was time to move to the next pose. It wasn’t “smooth” like a Disney feature film was, but it cost a lot less to make. And now there’s a certain retro appeal in that style.
I find many newbie digital animators tend to “over-animate” their character rigs, letting body parts drift around for seemingly no reason other than to create motion. But those classical animation principals (squash and stretch, anticipation, arcs, overshoot, easing, secondary action, etc) are still the best way to bring life to your characters.
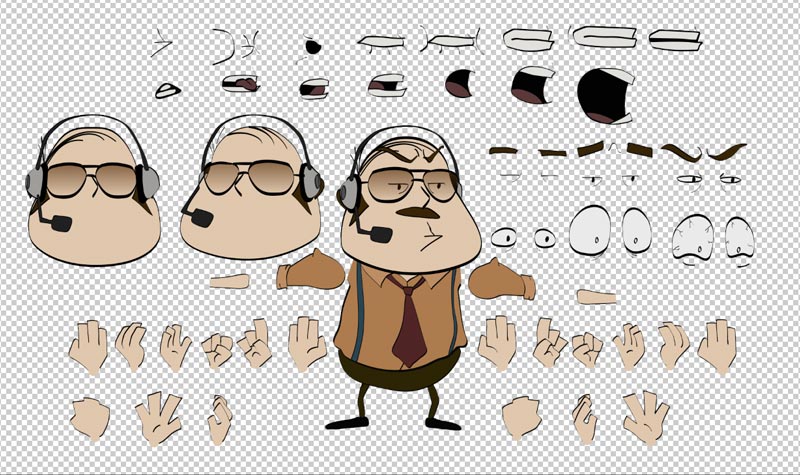
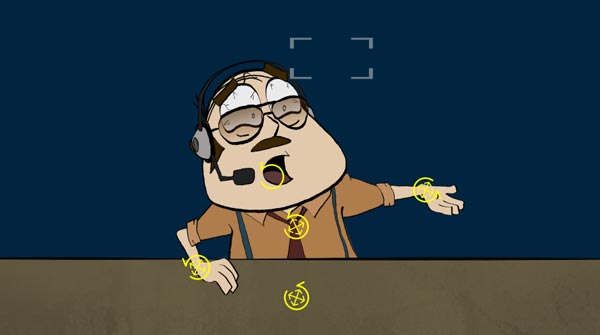
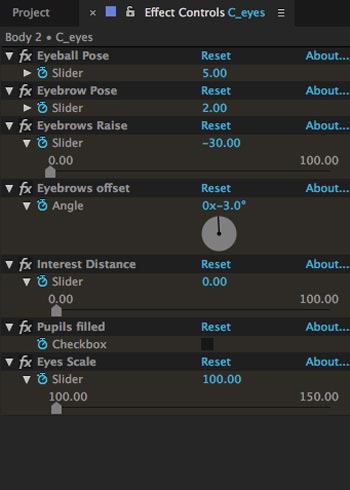
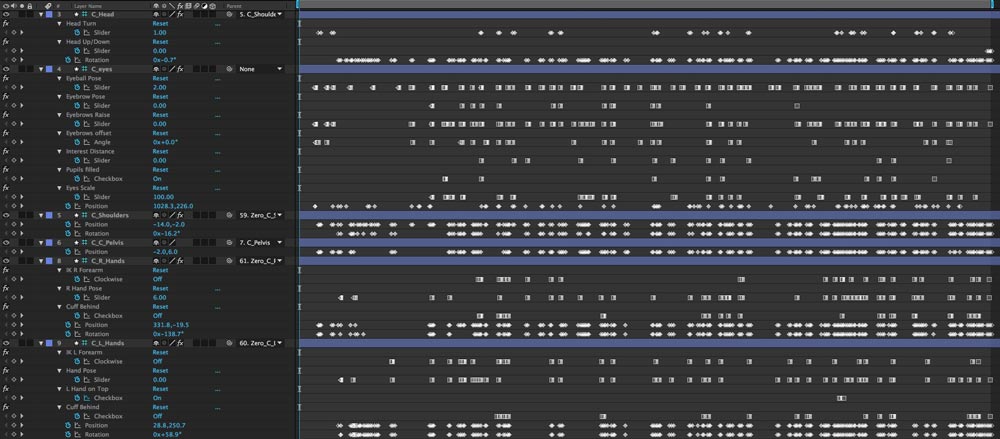
For this rig, DUIK Tools was used to rig the joints together, while time remapping and expressions were used to change poses for the hands, eyes and head. (There is also an expression that makes his necktie move slightly after the body, which gave some nice secondary animation without any keyframes)
Mouth shapes were animated by laying out the layers as thumbnails, and then having a “cursor” layer that, when animated, would switch the character’s mouth. This was directly inspired by Flash’s Keyframe Caddy plugin.
To finish off the hand-drawn look, I animated everything at 12fps and used EyeDesign’s “Boil It” to create the line jitter on the character.
This was a really fun project to make, I learned a ton, and the reception by those who work in TV has been amazing. Thanks for watching the animation, and thanks for reading this post!
